Thursday, July 28, 2011

Konad Zebra Print Nails

Here is one of my absolute favorite designs done with my FAVORITE Konad stamping kit!  If you dont have one yet, you need to get one!! LOL

This was done after a home manicure:
  1. Removed old nail polish
  2. Soaked nails in soapy water with a lil oil in it
  3. Trimmed cuticles a little
  4. Shaped nails with nail file
  5. Painted nails with Orly Bonder and Clear nail polish
  6. Proceeded with STAMPING! :)
  7. LEFT THIS STEP OUT... Remove excess zebra prints from around your finger nail with Q-tip and nail polish remover
  8. Sealed the design with Sally Hansen Quick Dry Top Coat (Red Bottle)
Here are the results:

IKONAD!

From Dealer to Kneeler

A good friend of mine sent me this link and it was sooo awesome that I had to share it!

Check it out!

AWESOME TESTIMONY ~ From Dealer to Kneeler

Wednesday, July 27, 2011

I praise YOU God...


For a creating a changed heart in me!  
For Your unconditional love!  
For Your grace and mercy!  
For being a God of restoration, peace, love, endurance, healing and so much more!  
For the sister's in Christ You have assigned just for me!  
For the natural gifts that You have given me!  
For True FREEDOM! 
For BOLDNESS to profess Your Holy Name!  
For constantly using rotten ol' me to build Your Kingdom!

This month alone you have done some wonderful changing, molding and shaping in me that only You can be responsible for!  Hubby even noticed and commented via a spontaneous phone call thanking his wife on the changes that he had noticed that I hadn't even realize happened!  
 That is the physical evidence that its ALL YOU! :) Spiritually, You are the ONLY one who can change a heart but sometimes we can't see that far, it has to be a physical manifestation of You for us to see it.  I thank You for making it clear for us!

HOW AWESOME ARE YOU?!  With You EVERYTHING is just plain ol' better! 
I give Your name ALL the honor, glory and the praise!

Thank YOU God! :)

Tuesday, July 26, 2011

Curlformers

I purchased a Curlformer's kit from Sally's at the beginning of the year and did not use them as I realized I needed the extra long curlers due to my hair hanging out of the regular ones. :(

Used the curlers on my sisters hair last week and the curls came out gorgeous!
  1. Washed and Conditioned her hair
  2. Finger parted medium sized portions of her hair and added Aphogee Foam Setting lotion to her hair
  3. Set her hair with the Curlformers and sat her under a cool bonnet style dryer for about 45 minutes. She actually winded up sleeping in the curlers.
  4. Removed the curlers in the morning, separated the curls just a bit with some Coconut oil on my finger tips and here are the results:


I will need to save a few bucks so that I can buy some extra long curlers for myself!
I ♥ Curlformers!

Monday, July 25, 2011

My first attempt at D.I.Y. SUSHI!

My sister and I wanted to make sushi over the weekend so we went out and brought a kit from Barnes & Noble (It was only about 8 dollars!) 
It came with the book, the spoon for rice, and 4 sets of chop sticks:
We visited the local Asian market and brought:
Rice seasoning packet
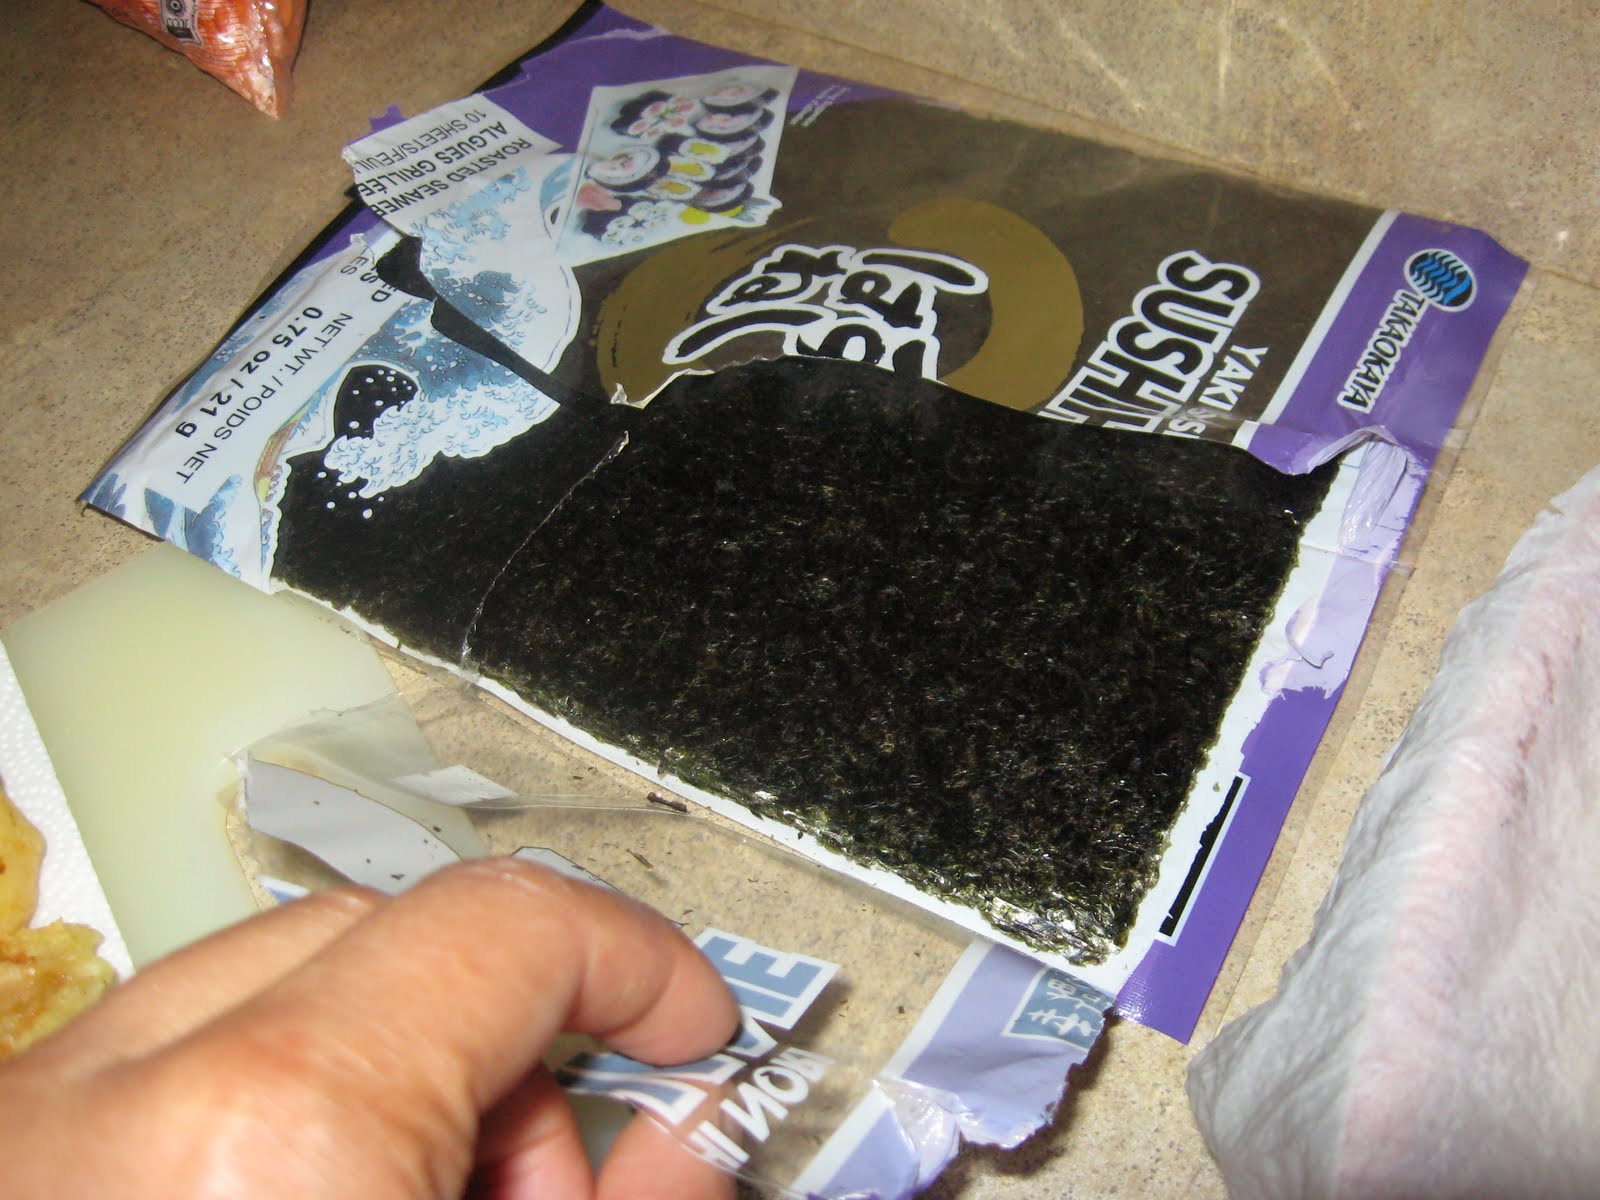
Nori (Seaweed used to wrap sushi)
Tempora batter
Low-sodium Soy sauce
Ginger
Spicy Mayo packet

Visted the grocery store for the rest of the items:
Carrots
Cucumber
Crab Meat
Raw Shrimp
French's Fried Onion pieces
Brown Rice

Here are the steps we took to make the sushi:
  1. Cooked the rice, added the rice seasoning packet and hand fanned the rice to cool it down. This is important to keep the correct consistancy of the rice. Covered the rice with a moist towel to retain the moisture in the rice.
  2. Heated the oil for the shrimp, made the tempora batter, cleaned the shrimp and fried them.  Placed the fried shrimp on a towel to extract some of the oil from the fryer.
  3. Cut up the cucumber, carrots, shrimp and crab meat into neat strips.
  4. Opened up the kit and put the bamboo mats in a plastic bag to keep them from getting food on them.
  5. Set out a  flat bowl filled with water to keep out hands moist as we roll the sushi. Also set out a sharp knife to cut the sushi after they have been rolled.
  6. Grabbed the Nori, placed it shiny side down. Wet my hands a bit and grabbed some rice and placed it on the Nori leaving a little less than 1/4 of the Nori exposed. Added my veggies, shrimp and crab meat to the middle of the rice and began to roll the Nori. Carefully rolling to ensure the roll is tight. Removed the mat and wet the exposed portion of the Nori so that it will stick and close securely. 
  7. Cut the Sushi rolls in 8 pieces and added the Spicy Mayo and Onion Straws and we were all done! They were yummy! :)
Here are some pictures from our 1st attempt at making Sushi at home: